Setting Up a Chicken Coop in Your Backyard: Step-by-Step Guide
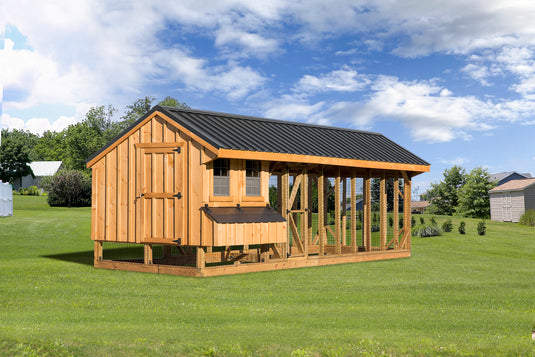
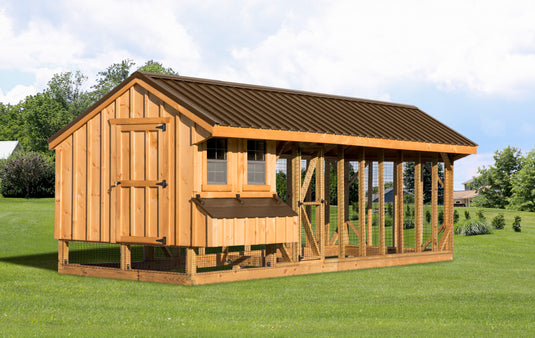
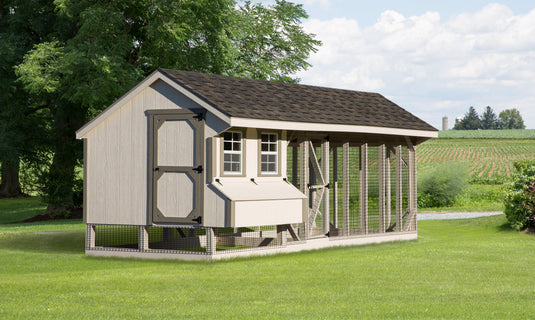
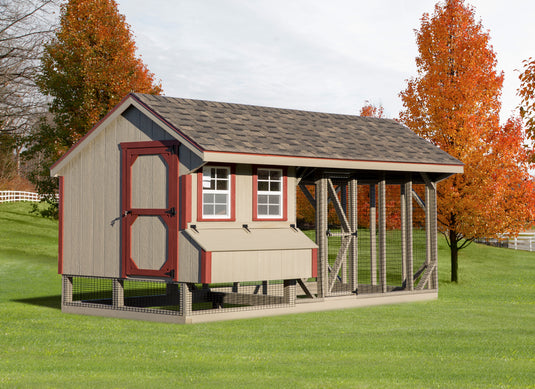
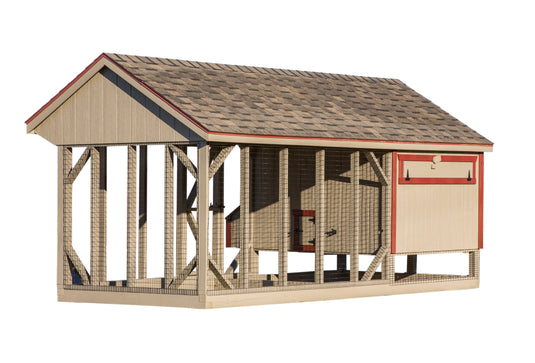
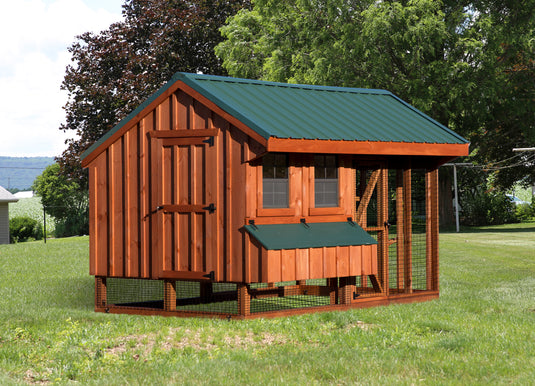
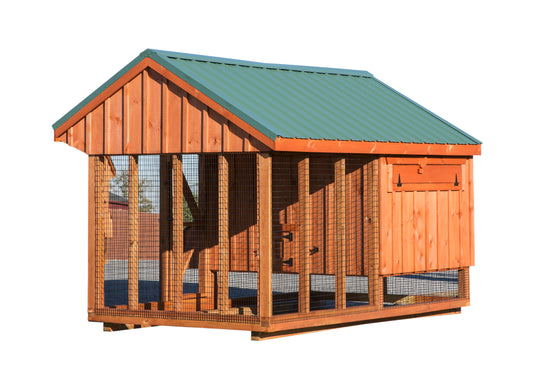
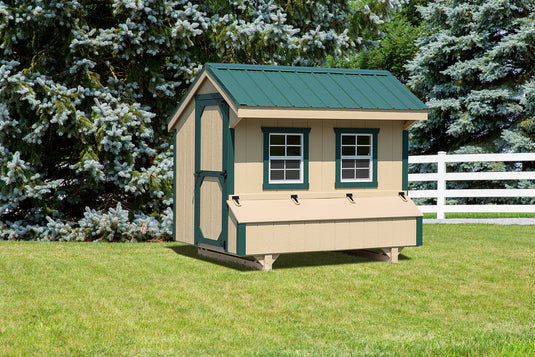
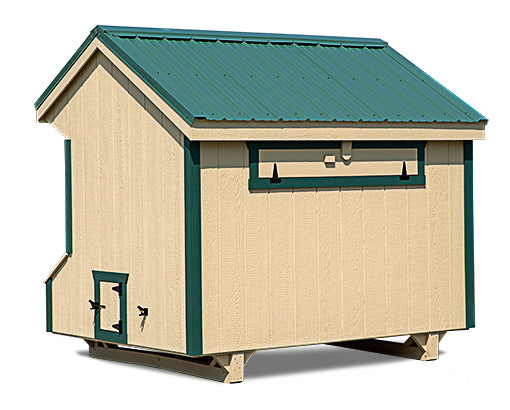
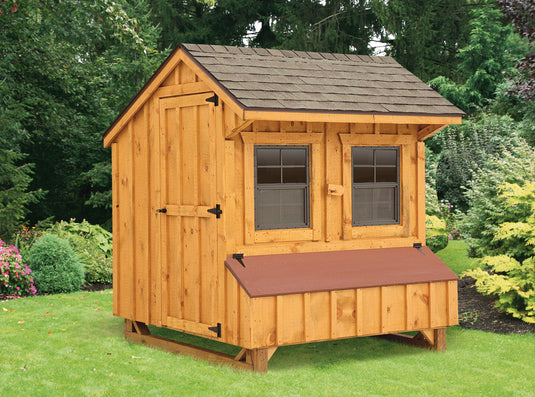
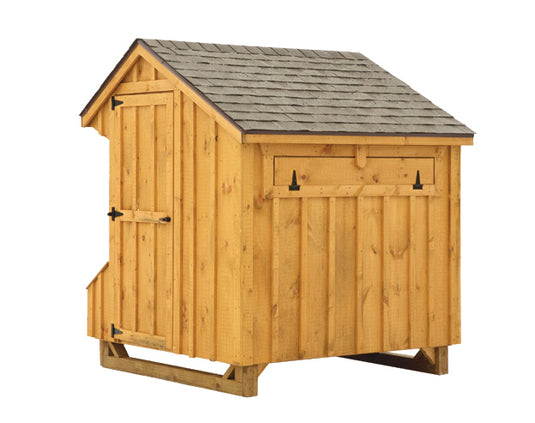
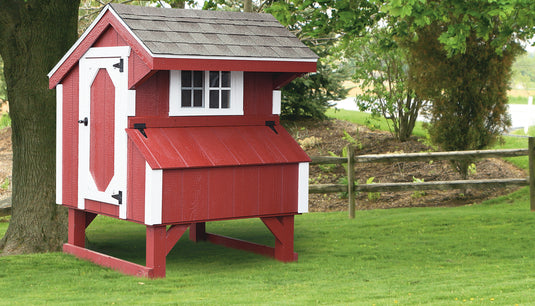
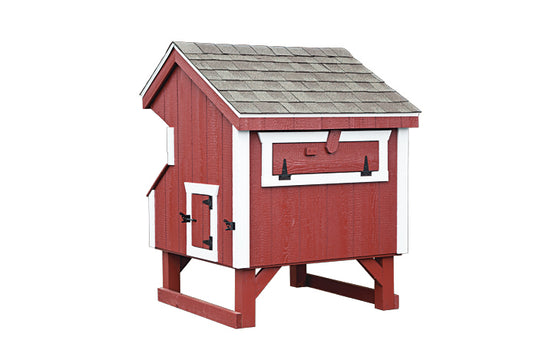
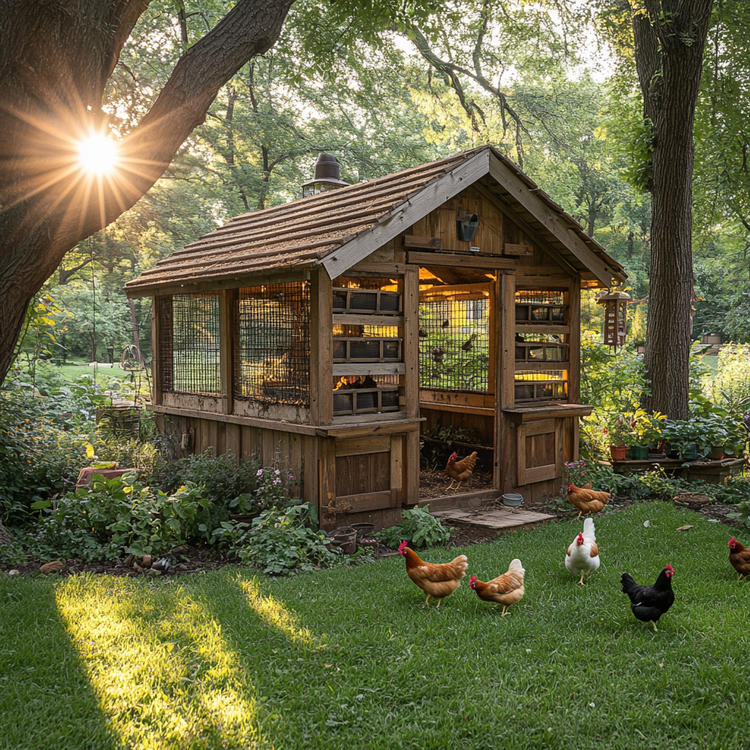
Raising chickens in your backyard is a rewarding venture, offering fresh eggs and the joy of caring for feathered friends. However, setting up a chicken coop properly is crucial to ensure your flock’s safety, comfort, and productivity. Here’s a step-by-step guide to help you assemble, place, and predator-proof your chicken coop for a thriving backyard farm.
Step 1: Choose the Right Spot for Your Coop
- Sunlight and Shade: Chickens thrive with a balance of sunlight and shade. Place your coop in an area that receives morning sunlight but has some shade during the hottest parts of the day.
- Drainage: Ensure the ground where you place the coop has good drainage. Avoid low-lying areas where water may pool during rain.
- Accessibility: Position the coop in a location that’s easy for you to access for daily maintenance, egg collection, and cleaning.
Step 2: Assemble Your Chicken Coop
- Follow the Instructions: If you’ve purchased a pre-fabricated coop, carefully follow the manufacturer’s assembly guide. Ensure all screws, latches, and hinges are secure.
- Level the Base: Use a level to make sure the coop’s base is flat and stable. An uneven coop can stress chickens and make cleaning challenging.
-
Add the Essentials:
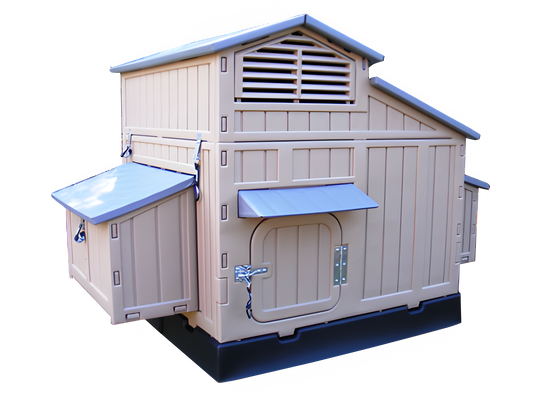
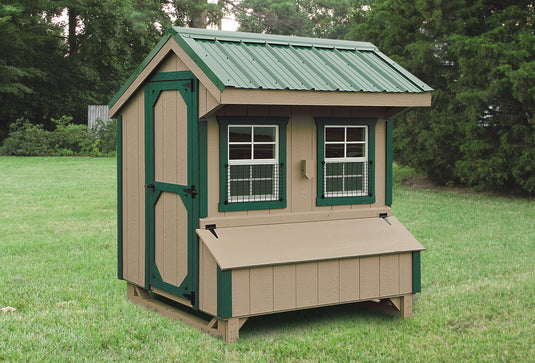
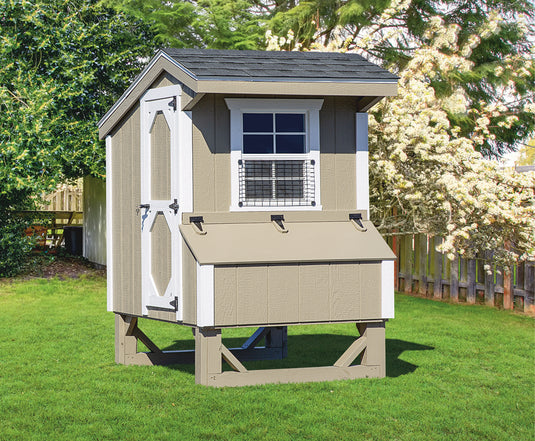
- Nesting Boxes: Install nesting boxes for egg-laying. Each box should comfortably fit one chicken at a time, and you’ll need one box per 3-4 hens.
- Roosting Bars: Chickens sleep on roosting bars, so place these at a height that allows them to perch safely.
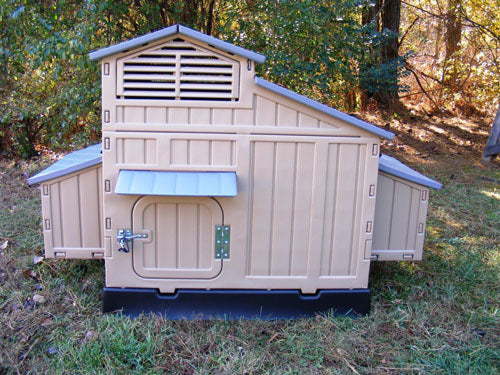
- Ventilation: Install vents or windows to allow proper airflow, reducing moisture and ammonia buildup.
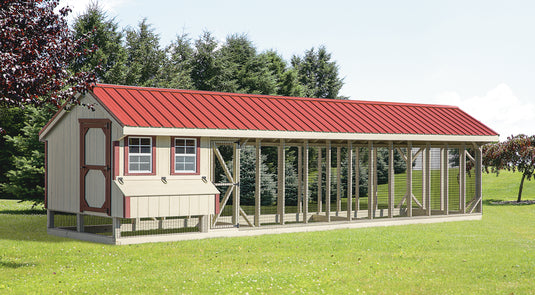
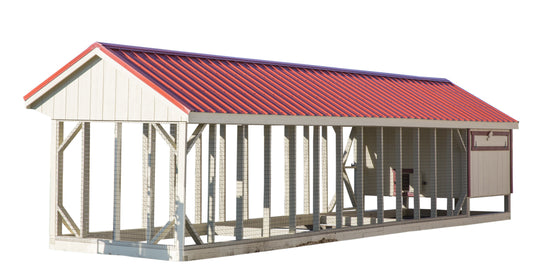
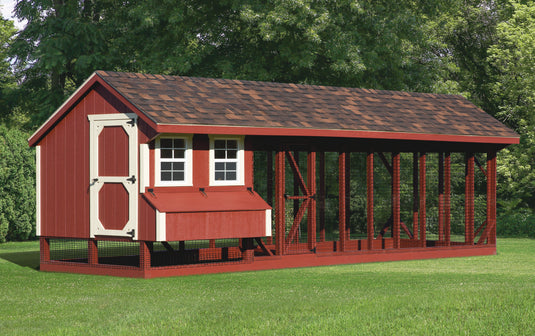
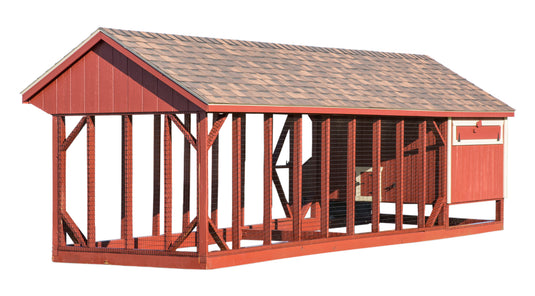
Step 3: Set Up the Outdoor Run
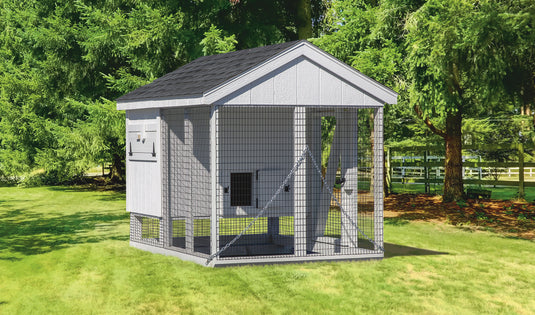
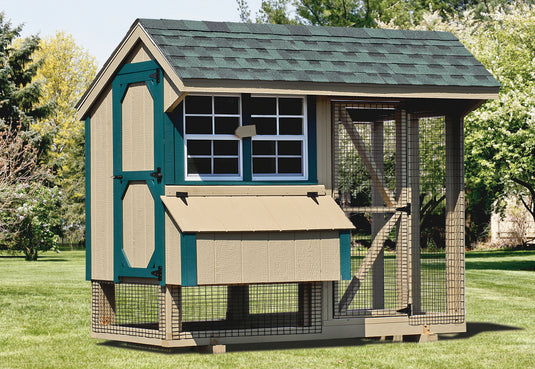
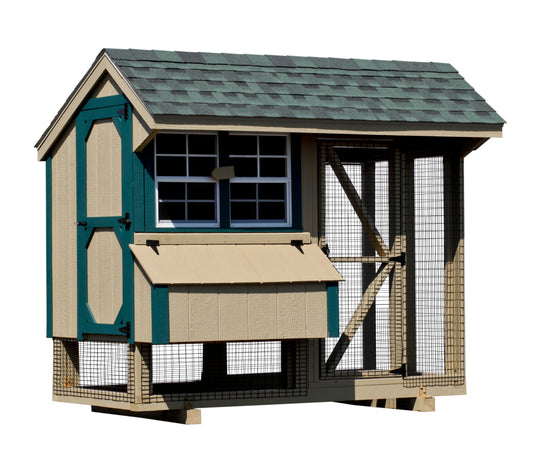
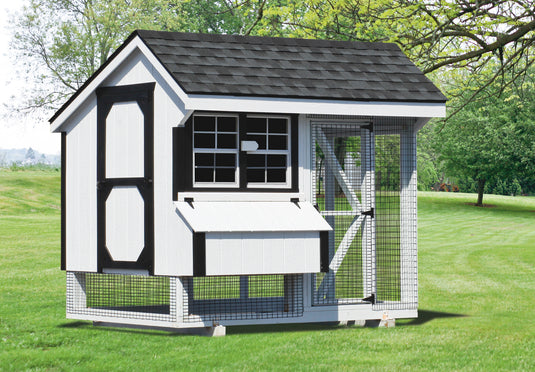
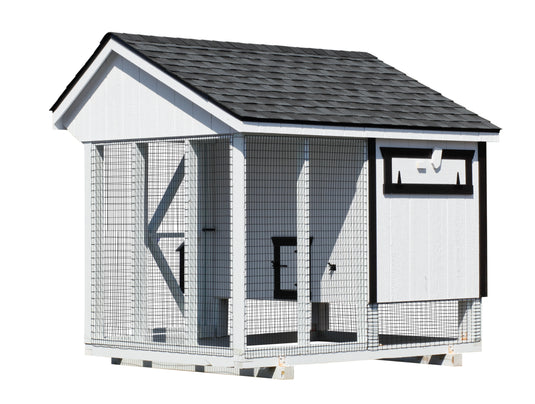
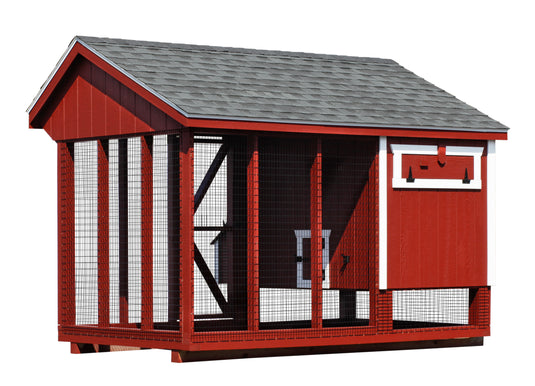
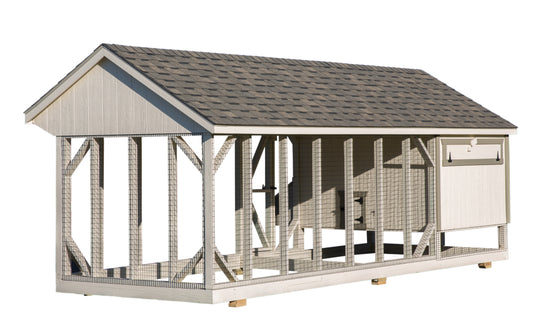
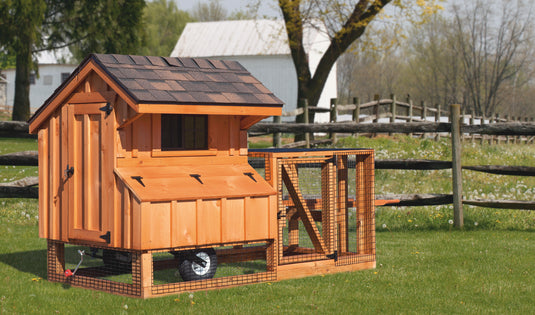
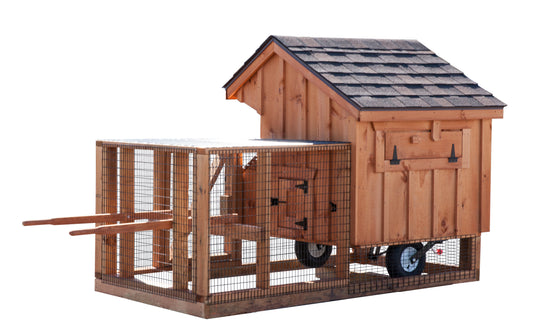
If your coop includes a run (an outdoor area for chickens to roam):
- Size Matters: Provide at least 8-10 square feet per chicken in the run to ensure they have enough room to forage and exercise.
- Ground Covering: Cover the run floor with sand, dirt, or straw. These materials are easy to clean and provide a comfortable surface for scratching.
Step 4: Predator-Proof Your Coop
Keeping predators at bay is critical to your chickens' safety:
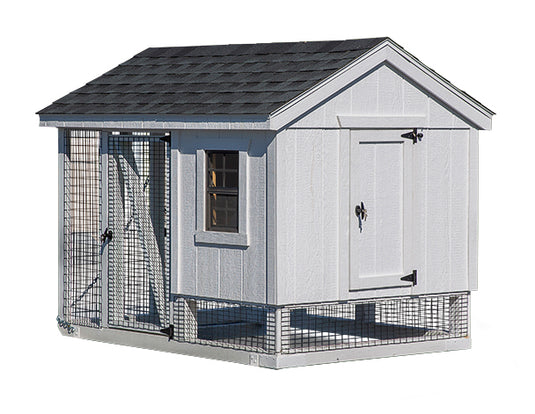
- Secure Fencing: Use hardware cloth instead of chicken wire, as it’s stronger and resistant to predators like raccoons and foxes. Bury the fencing at least 12 inches underground to prevent digging.
- Lockable Doors: Equip coop doors with sturdy locks that predators can’t easily tamper with.
- Cover the Run: Install a roof or mesh cover over the run to protect your chickens from aerial predators like hawks.
- Inspect Regularly: Check for any gaps, loose boards, or damage that predators could exploit.
Step 5: Add Bedding and Food/Water Stations
- Bedding: Line the coop floor with absorbent materials like straw, pine shavings, or hemp bedding. This keeps the coop clean and odor-free.
- Feeders and Waterers: Place feeders and waterers in areas easily accessible to your chickens. Ensure they are elevated slightly off the ground to reduce contamination.
Step 6: Introduce Your Chickens
Once the coop is ready, it’s time to welcome your flock:
- Settle In: Let your chickens explore their new home during the day while keeping them inside the coop at night for the first few days. This helps them recognize it as their safe space.
- Routine: Establish a consistent routine for feeding, cleaning, and egg collection.
Final Thoughts
Setting up a chicken coop is a straightforward but vital step in creating a safe and comfortable environment for your flock. With proper placement, assembly, and predator-proofing, you can ensure your chickens thrive and reward you with fresh eggs and delightful companionship. Happy chicken-keeping!


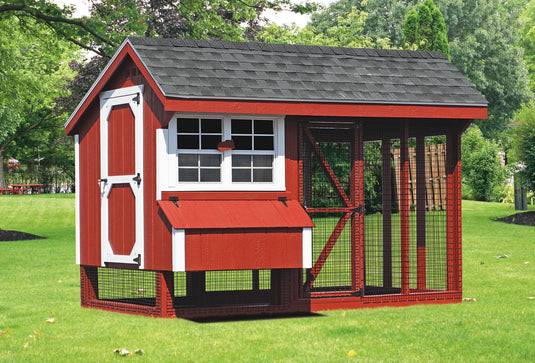
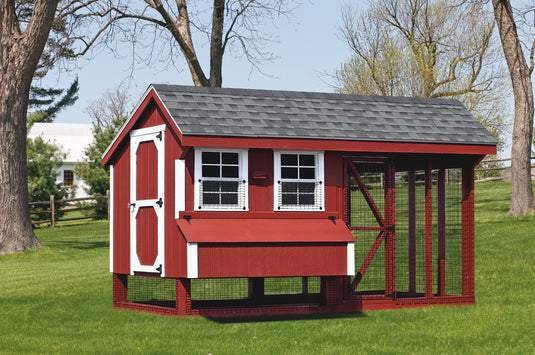
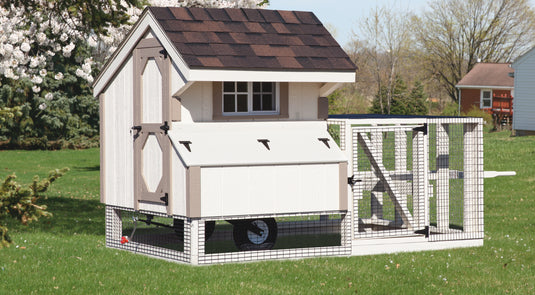
Combination Coop - Witness the endless possibilities for your new coop from the Hen House Collection with Ashley Motter’s combination coop in York County.
Cluck & Coop
Read Me!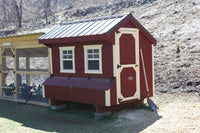
What started as a novice activity became a passion and hobby for the Lopez family. Keep reading to learn more about their 5×8Quaker Chicken Coop in CT!
Cluck & Coop
Read Me!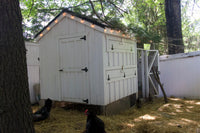
Suzanne became a chicken owner by accident. She started with 8 chickens, but as she had kids, they became interested in raising chickens, so she wanted to expand her coop and flock!
Cluck & Coop
Read Me!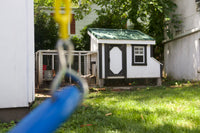
Matt and Brittany Jankaitis had been interested in getting chickens for a long time. They started with6 chickens , but after getting a coop from The Hen House Collection, they felt confident that they could raise10 chickens .
Cluck & Coop
Read Me!
Amy first considered getting her own chickens after hearing from others who had backyard flocks. She started with8 chickens, all different breeds. She planned to name her birds and keep them apart.
Cluck & Coop
Read Me!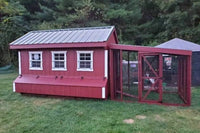
Dorothy and her husband love their flock of chickens and treat them like pets. They currently have 20 chickens and are expecting more. Owning chickens has been a great learning experience for their son as well, and he is deeply involved in caring for them. Continue reading to hear about Dorothy’s chicken coop journey.
Cluck & Coop
Read Me!
